


Wall Templates: Ford Econoline RB E series 1992-2014
Wall Templates: Ford Econoline RB E series 1992-2014
Includes both driver side and passenger side wall templates.
Couldn't load pickup availability
INSTALLATION GUIDE
Wall panel fabrication guide for 4th. generation 1992 to 2014 Regular body Ford Econoline vans
-

Step 1
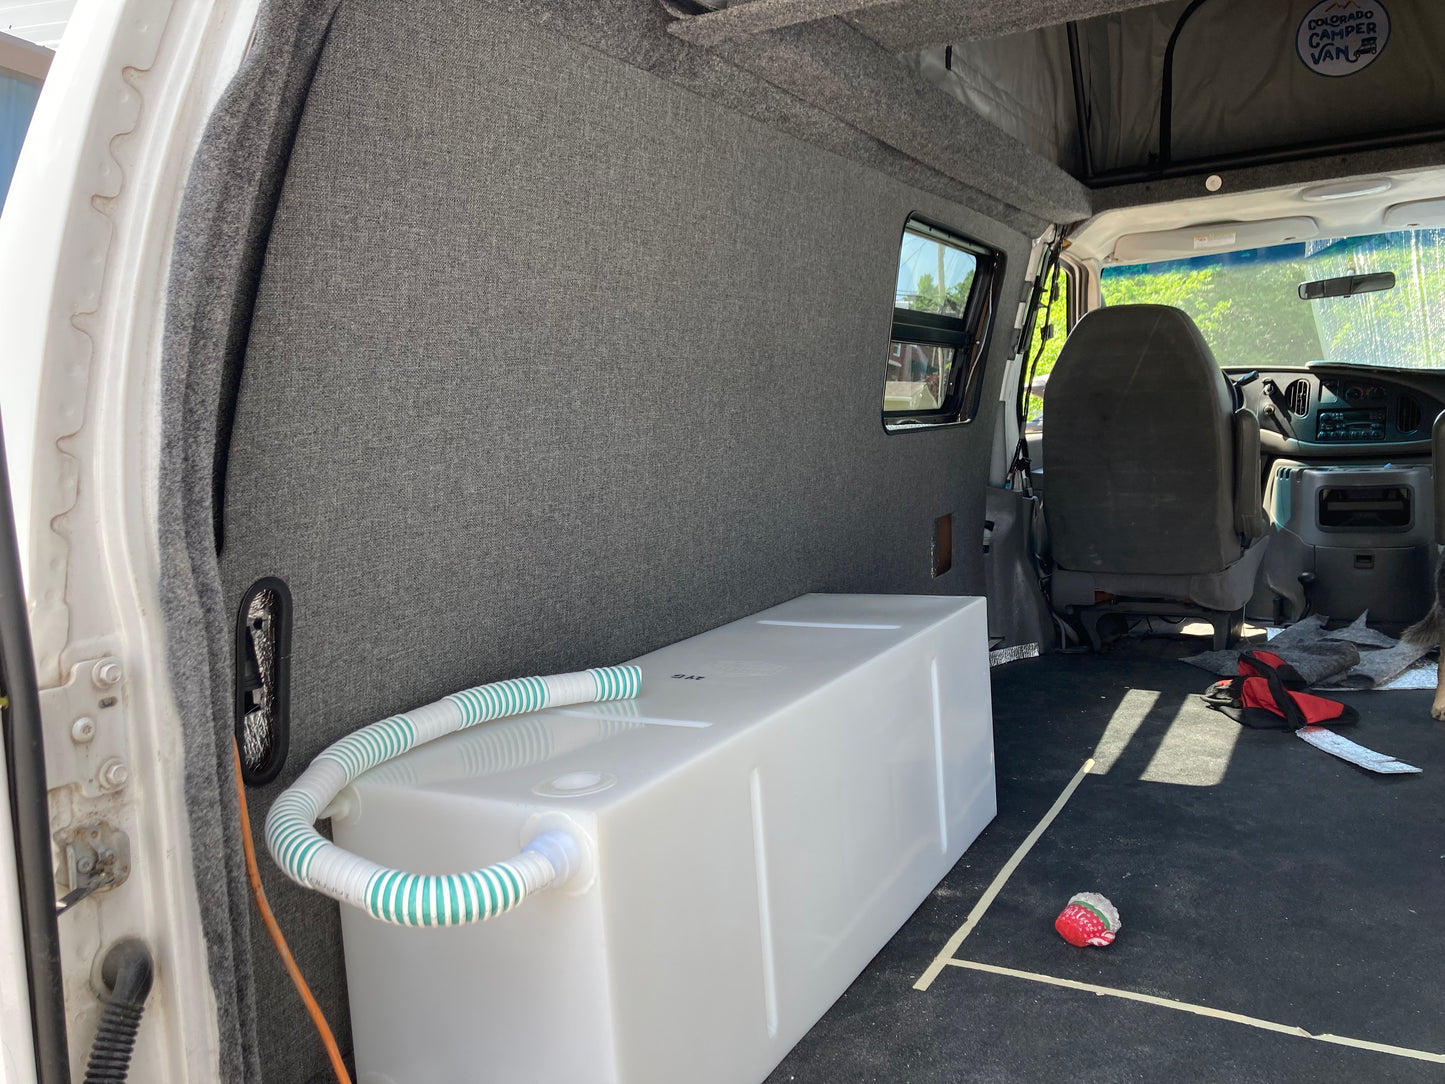
Sound deaden your van
-

Step 2
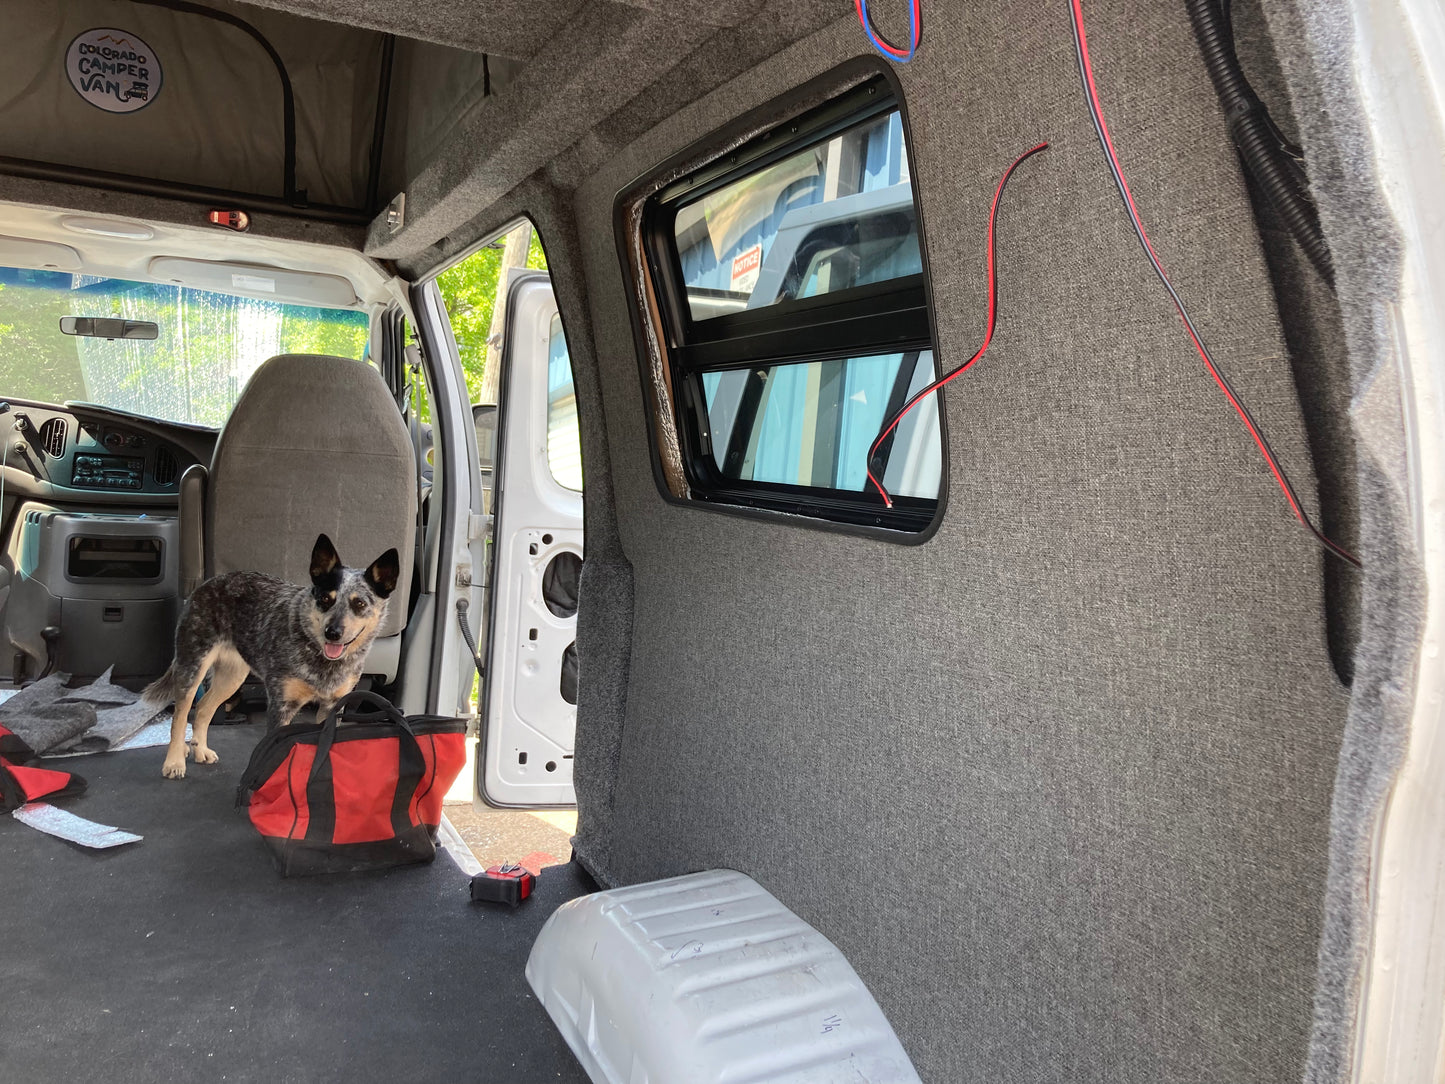
Remove drivers side seat belt attachment bolt and plastic pillar trim.
-

Step 3
Run your electric and plumbing accordingly for future use.
-

Step 4
Install you selected insulation and moisture / vapor barrier
-
Step 5
Install your carpet around all edges such as pillars and roof to wall transitions, wheel arches etc.
-

Step 6
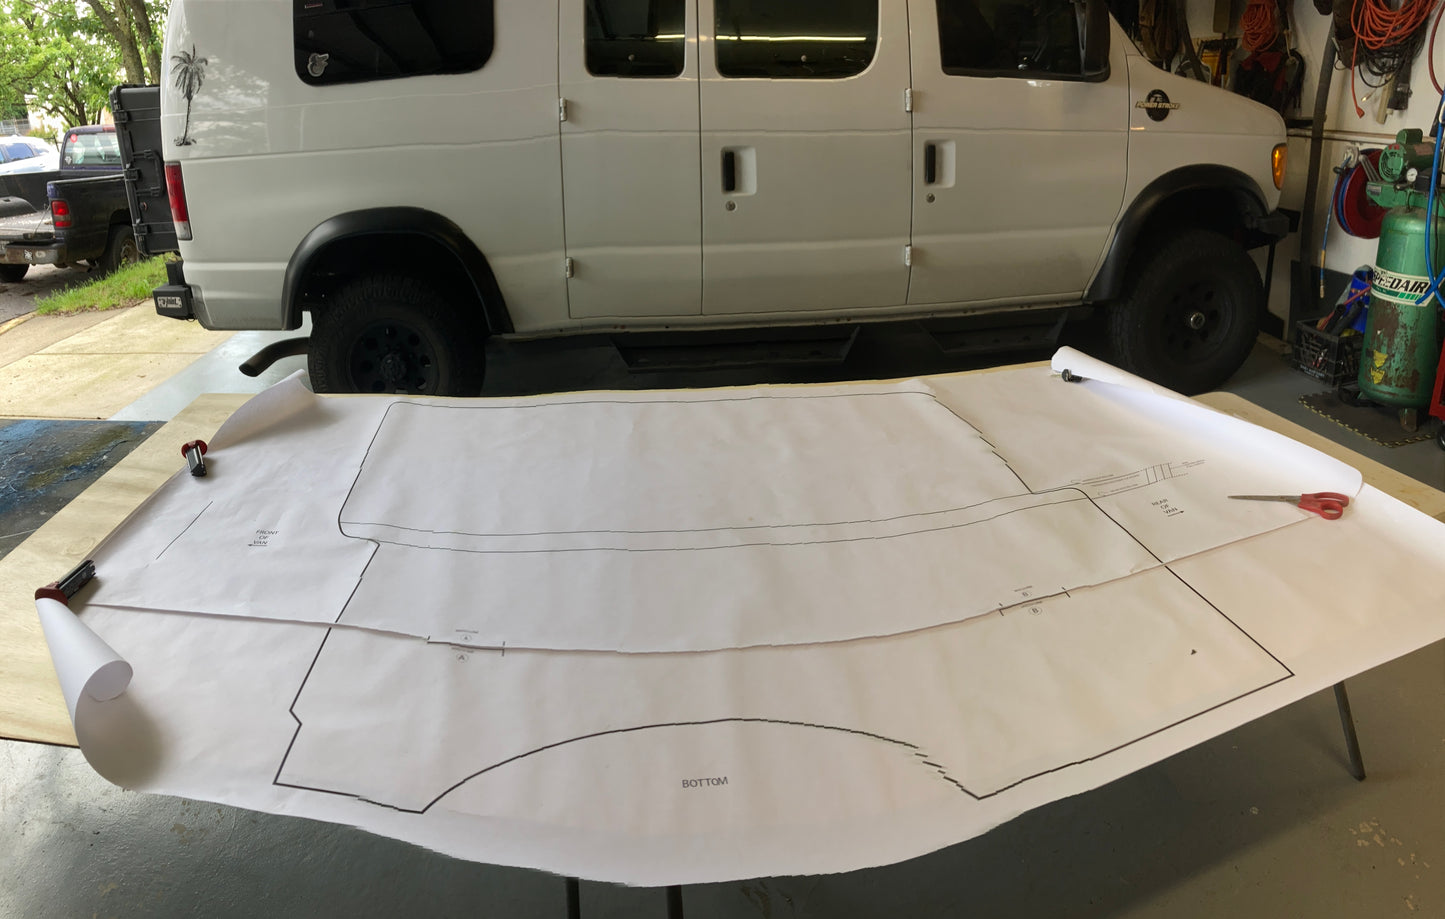
Cutting the wall panel using the templates.
-

Step 7
Dry fit the unfinished plywood wall panels. Make note of the horizontal metal rib where you will later screw the panel to.
-

Step 8
After fit is achieved, pull your electric through any locations you need to.
-

Step 9
Remove the unfinished panel and install your tweed or vinyl material using spray adhesive.
-

Step 10
Reinstall panel. Screw in only to previously noted horizontal metal ribs. Recommend using 1” self tapping sheet metal screws with a trim ring as to not pull through wood and use a plastic screw trim cap to hide screw heads.
-


Note:
-The driver's side is approximately 10’ and will require joining 2 pieces of plywood flush together. This can be done using a 4” strip of ¼” ply glued to the back side 4'x8’ sheet joining to sheets flush together.
-Highly recommend using a 5 ply ¼’ Birch plywood.
-Minor adjustment may be needed to shape the plywood to fix exactly. Keep in mind the carpet and finding material used. All vans have slight variations in the metals.
-Window cut outs are done in the field. Templates come with no window cut outs.
*This is a 2 man installation process. Use a 2x4 to brace off the opposing wall to help flex in the plywood while you get screws set. Material is meant to follow the curve of the van wall. Pressure at the top and bottom or the curve is expected and necessary to hold the top and bottom in place so no screws are needed in these locations.
Tip:
Use a 1” X 4” to sandwich the stiffener strip with clamps and screws to the front and back of the ply this will hold it all together while the glue sets up. After 24 hrs remove the clamps and screws and proceed to cutting out the templates. Align the top and bottom templates using the alignment indicators marked on the templates. Cut out and transfer the shape to the plywood and jig saw out the panels.
DYI conversion 2000 E 350 7.3L Diesel Quigley 4x4
Web links for recommended materials are provided below.
- Vapor barrier / insulation https://www.insulation4less.com/insulation/prodex/4-x-50-prodex-total-insulation-5
- Tweeds / Vinyl / Spray tack https://www.larrydennis.com/inventory.php?type=1073
- Screw Caps https://www.amazon.com/dp/B0CGNMVLJ3/
- Sound deadening material https://www.amazon.com/Noico-deadening-Automotive-Insulation-dampening
- Windows https://www.amazon.com/Glass-Look-32-1-18-1-Crank/dp/B003ZTQ246?th=1